
The D365FO excel add-in is a very powerful tool that helps users to manage environment entity data to work better and faster.
Document templates comes out with many editable entity field columns, but not all of them are available. If you want to add more fields you have to modify the original template.
These are the steps to reach the expected results :
- Login to D365FO and open “Common” > “Document templates”
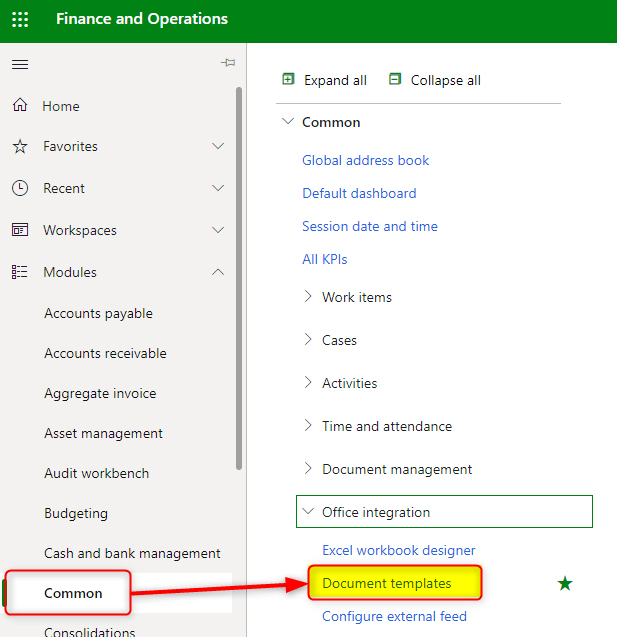
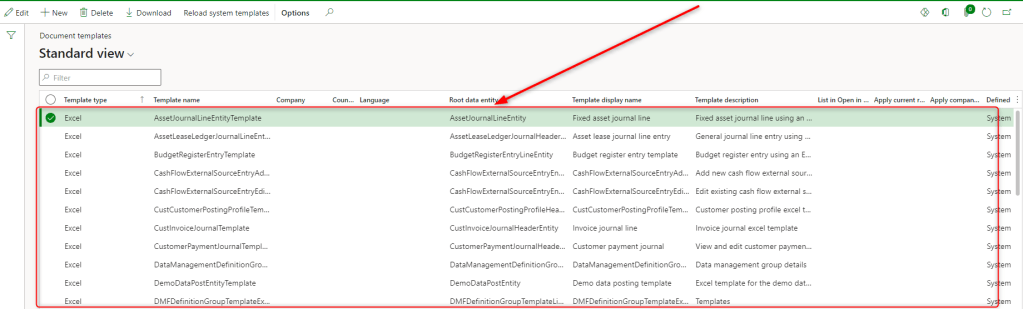
- Here you’ll find all the environment available templates
- Now suppose you want to add a new field to the General Journal Line entry (eg. Exchange rate).
To do that let’s modifiy the template to make this field available all the times a user uses the excel add-in.
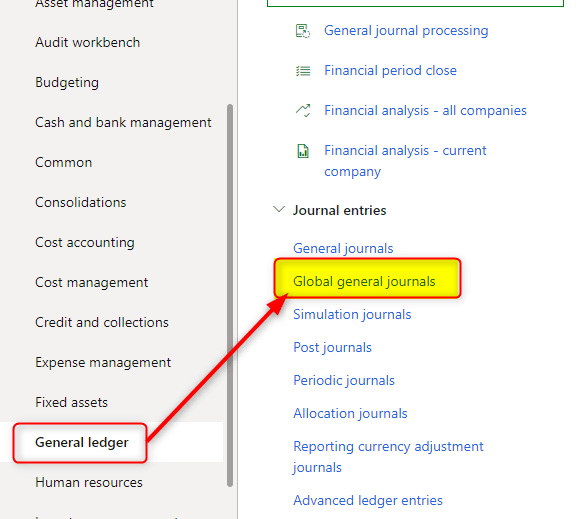
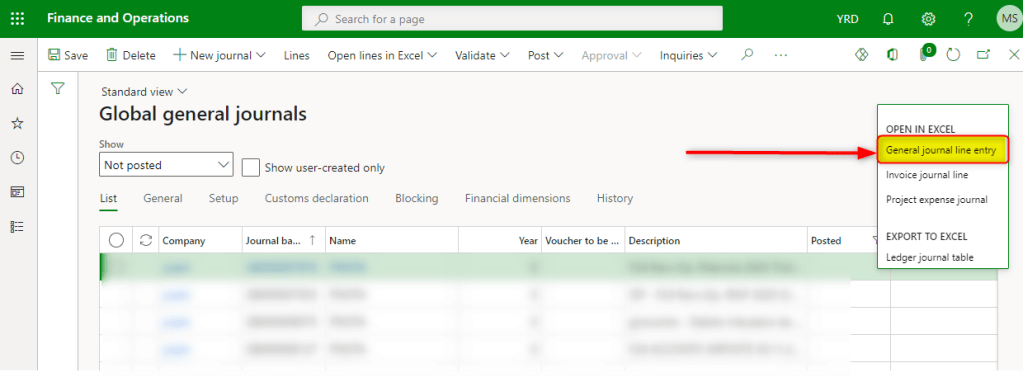
First you must know the template’s name. So let’s open the “Global General Journal” form
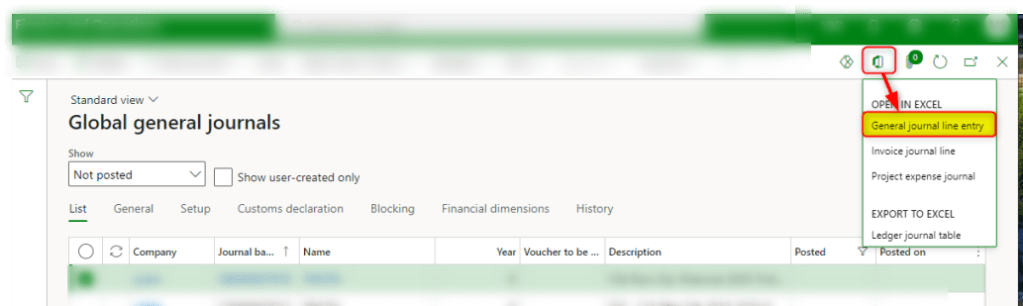
- Now click on the Office icon and you’ll see the “General Journal line Entry”. This is the template display name
- Next step is to search this name in the Document template Form
So again open “Document templates” form
- Add a the “Template display name” field to the filter.
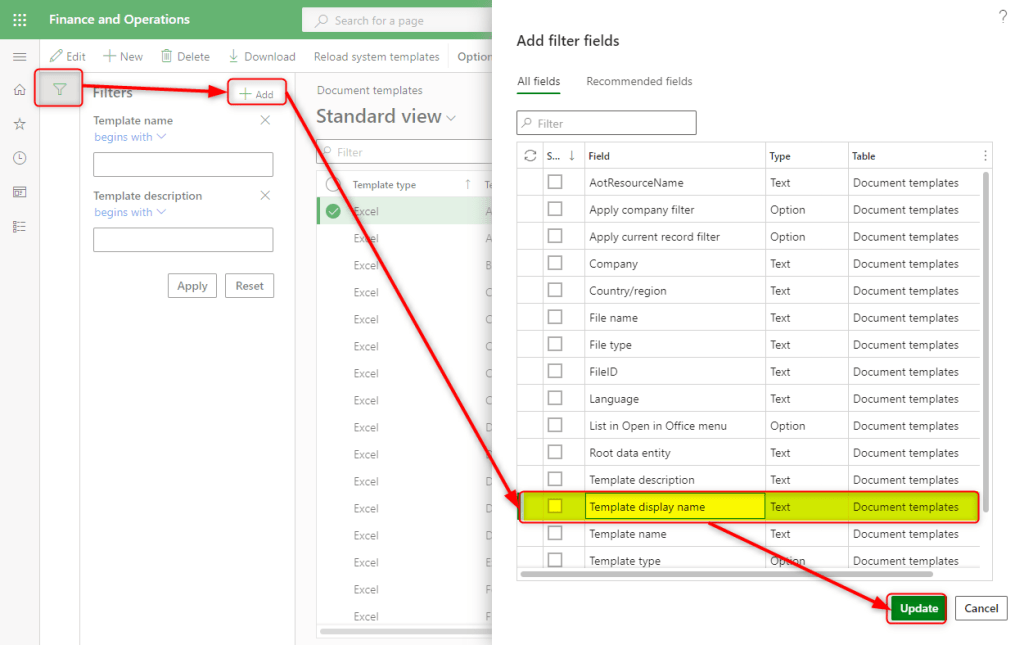
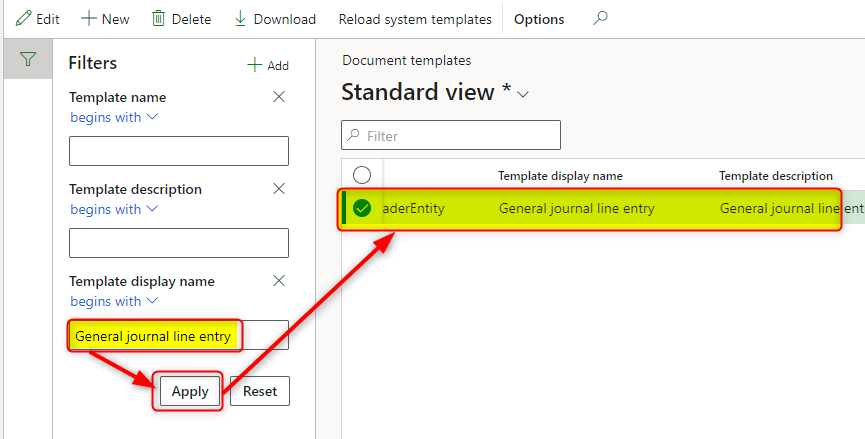
- Paste the name into the filter and click on “Apply”.
You’ll find the template row.
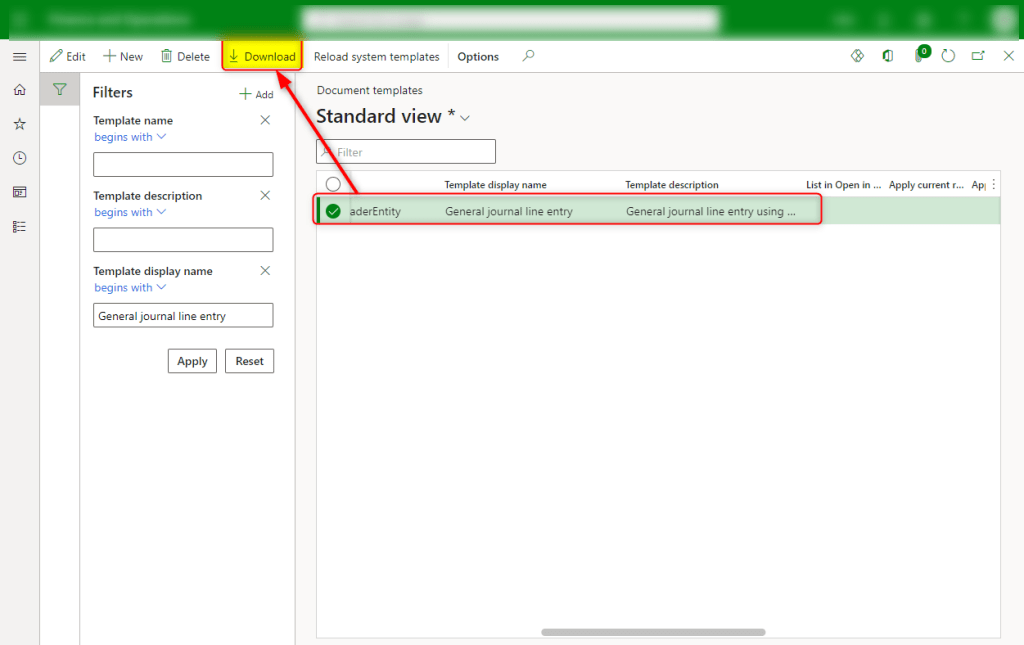
- Download it
- Open it
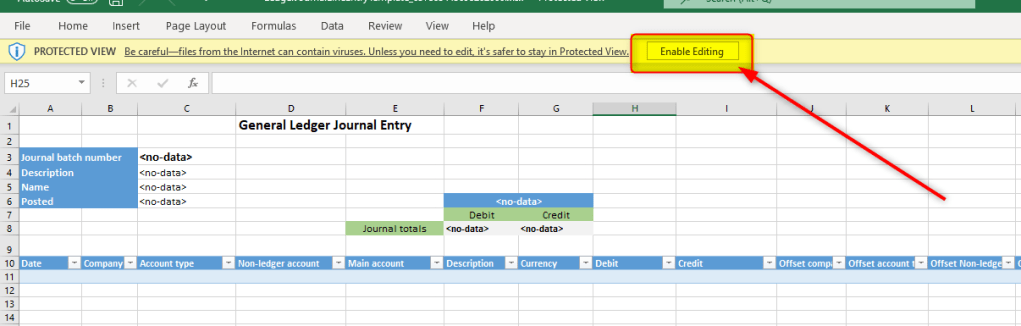
- Excel will open, click on “Enable editing”.
If it’s the first time you use the excel add-in you’ll be prompted to install it, otherwise you can use it immediatly
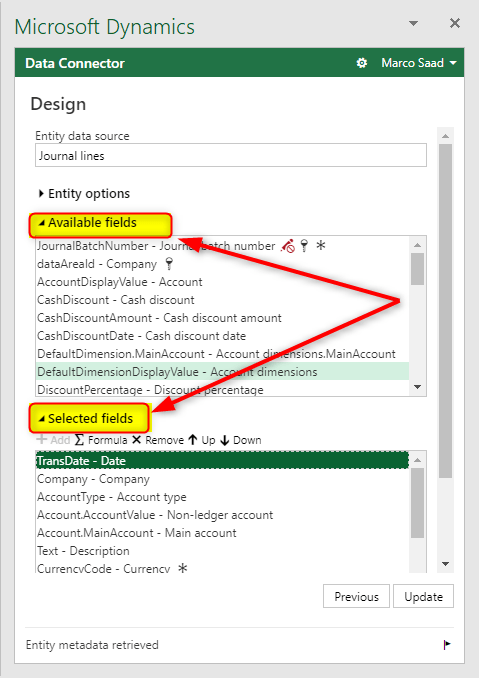
- In the data connector section click “Design”

- Click on “Journal lines” table pen icon

- In the above section you’ll see the list of all available fields
In the below section you’ll see the list of the selected fields (which are the field currently shown in the template)
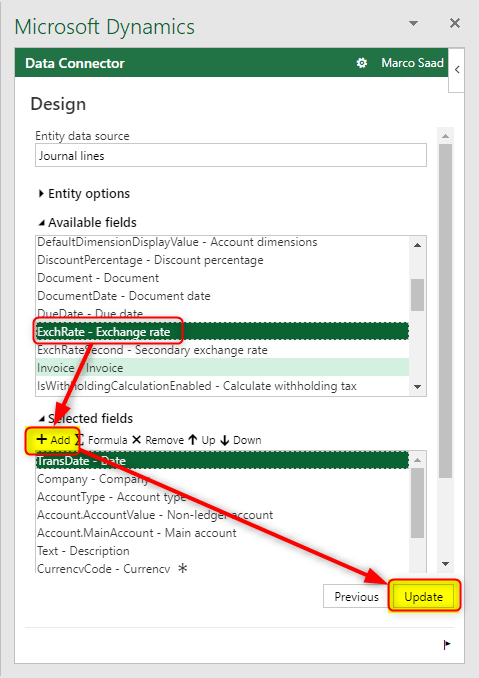
- Now let’add the Exchange rate field.
Select the field in available fields section, click “Add”.
The field will be added in the “Selected fields” section.
Now click on “Update”
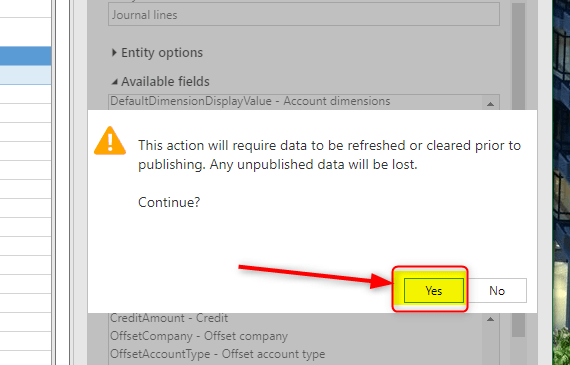
- Click YES on Refresh data dialog
- Click on “Done”
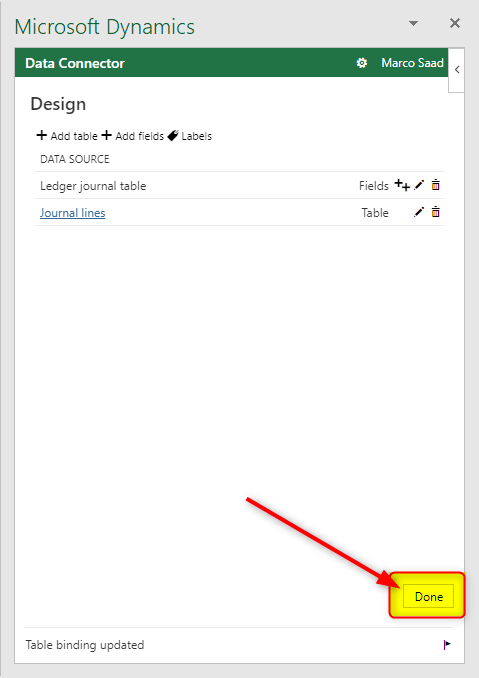
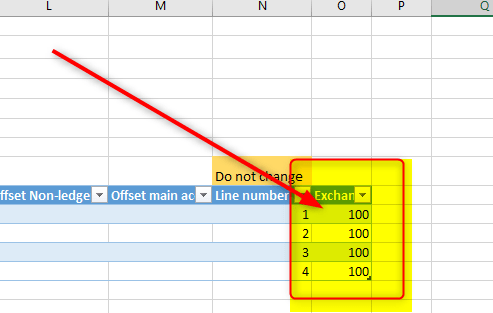
- The new field will appear in the excel

- Now save the excel template.
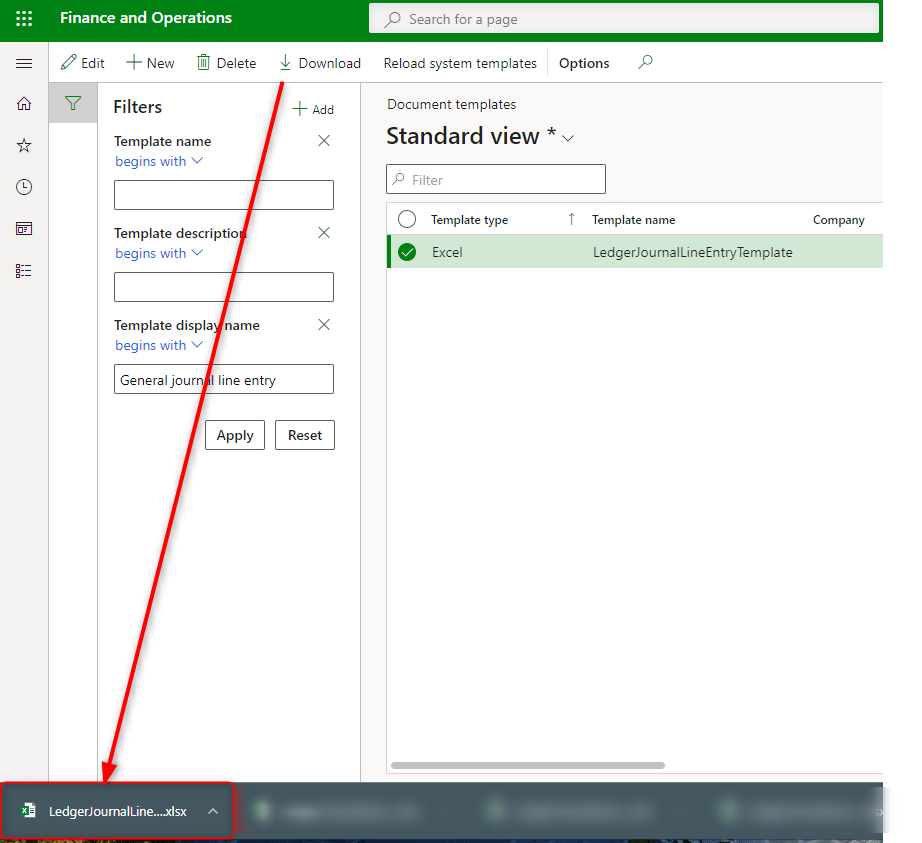
Pay Attention!! When you click on “Save As” the default file name will be the template name (eg. LedgerJournalLineEntryTemplate) followed by a long number… Remove this long number. To reach the goal the file must be named like the original template file.
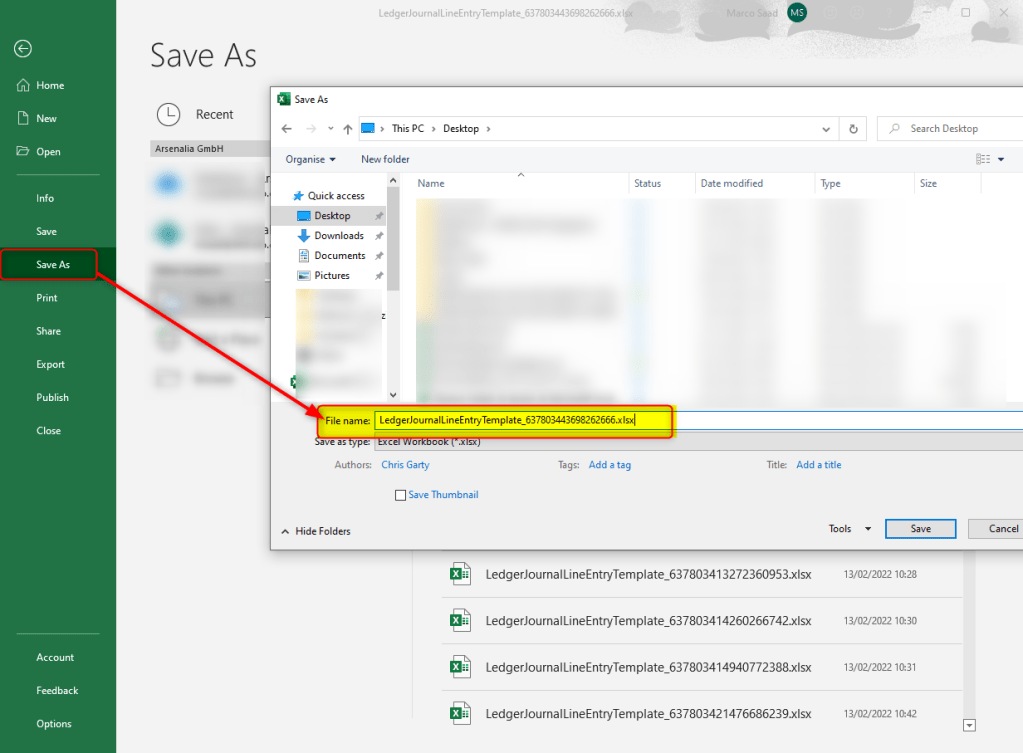
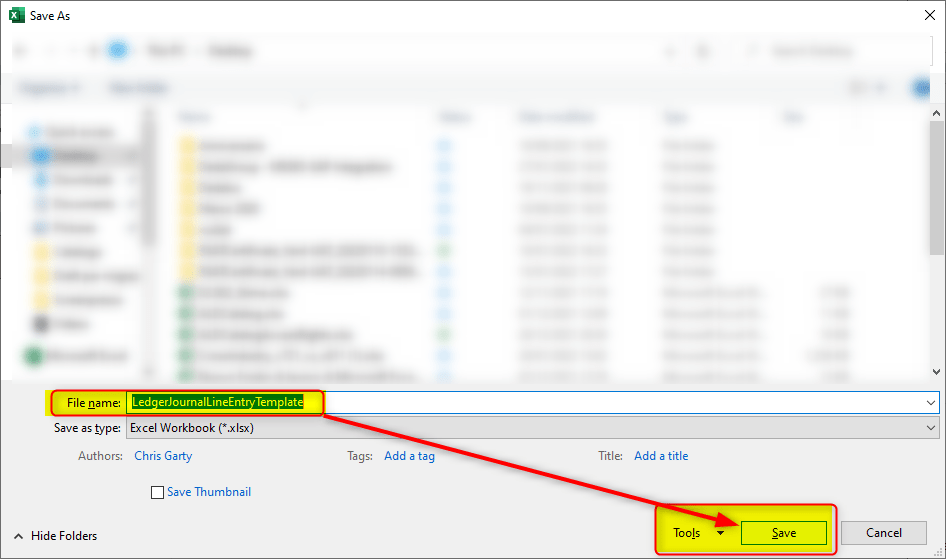
- In this case the name will be LedgerJournalLineEntryTemplate.xlsx
Save it where you want (eg. in your desktop)
- Now return to the “document template” form. Click on “New”
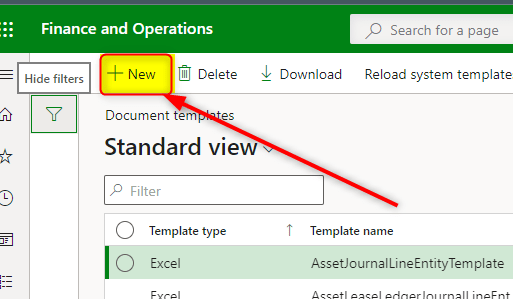
- Click on “Browse” and select the previously saved excel file
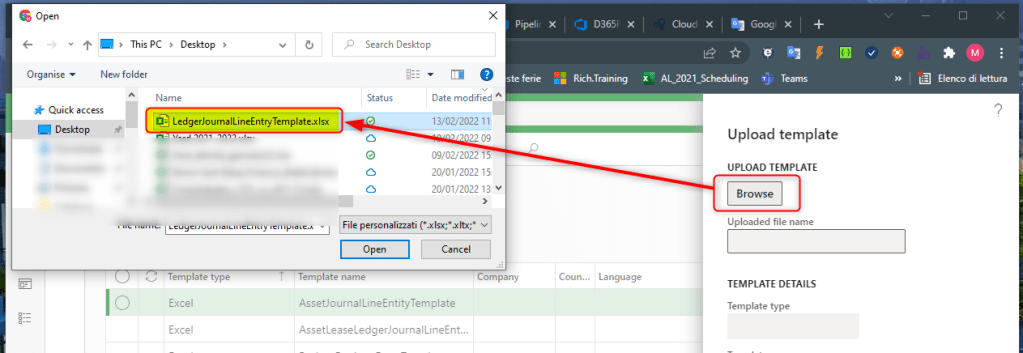
- A message will warn you that the template already exists so click Yes to overwrite it
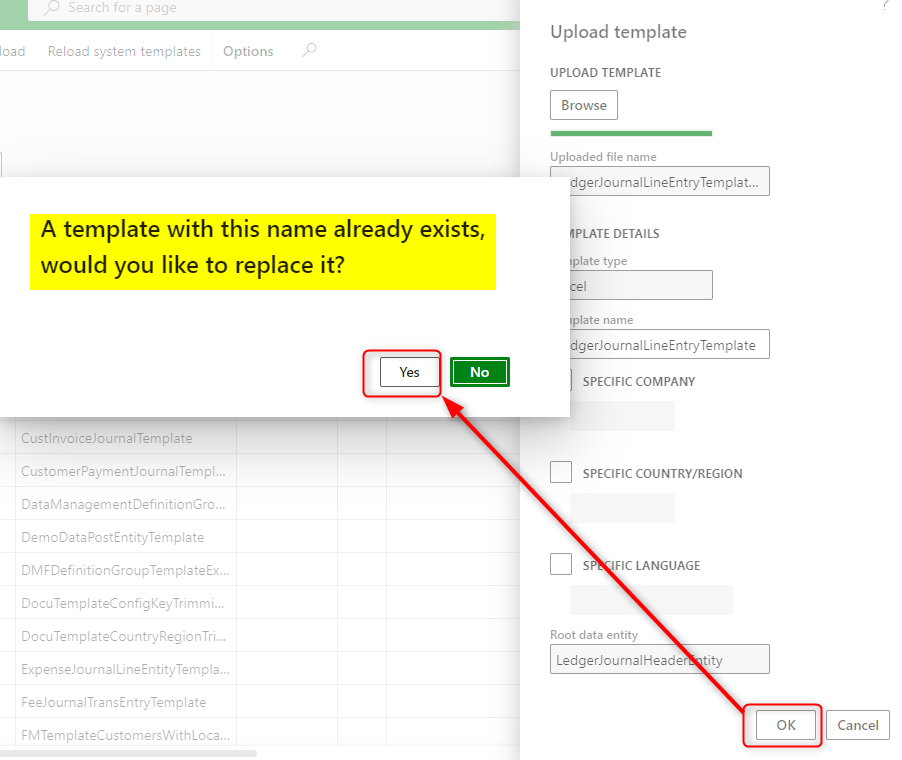
- Ok well done. You have modificed the original document template.
So let’s test it to see if the field has been really added.
So again open “Global general journals”. Click on “General journal line entry”
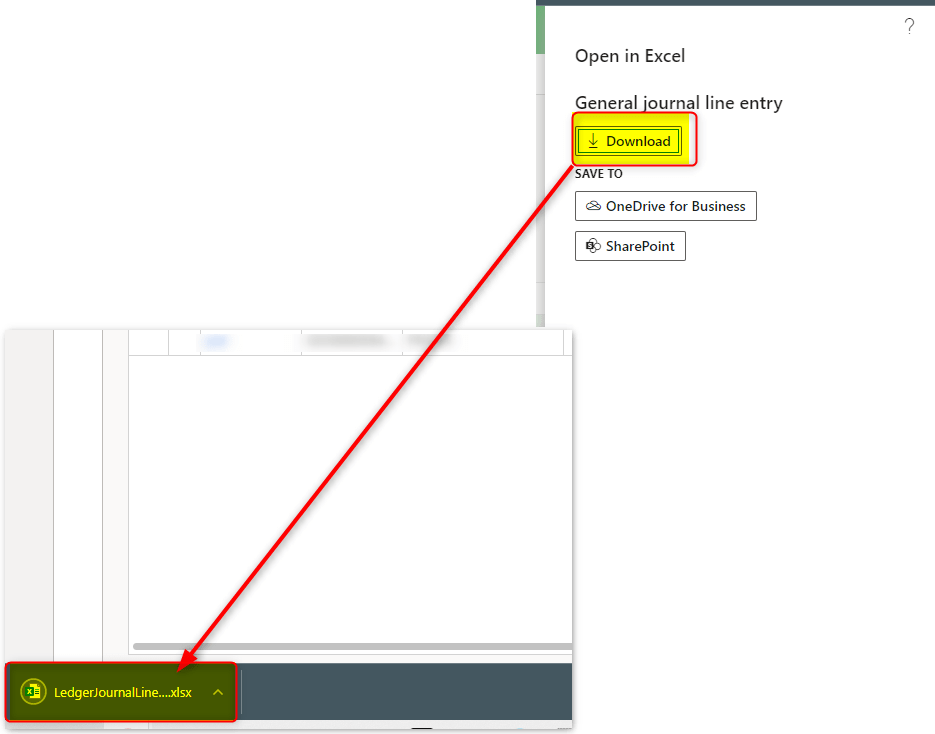
- Click on “Download” and open the file
- Click “Enable editing”
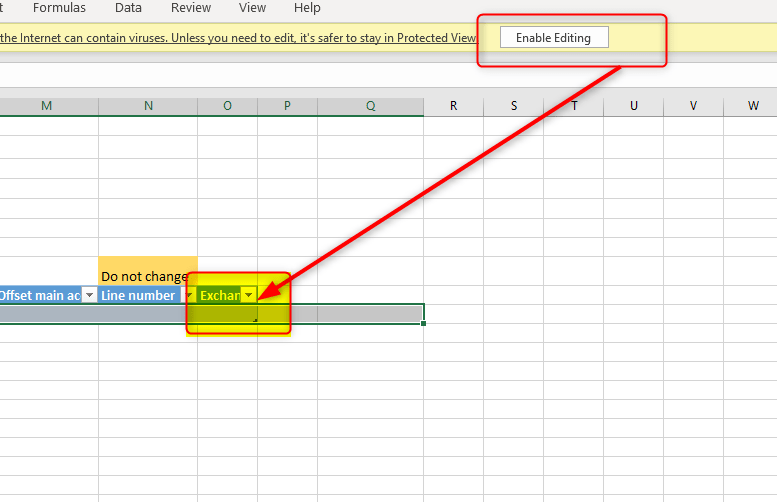
- Et voila, the field has been definitively added

Leave a comment