How to add a new button in the MPOS D365 Commerce Retail screen?
Just follow these steps

Go to Retail and Commerce > Channel setup > POS setup > POS > Screen layouts
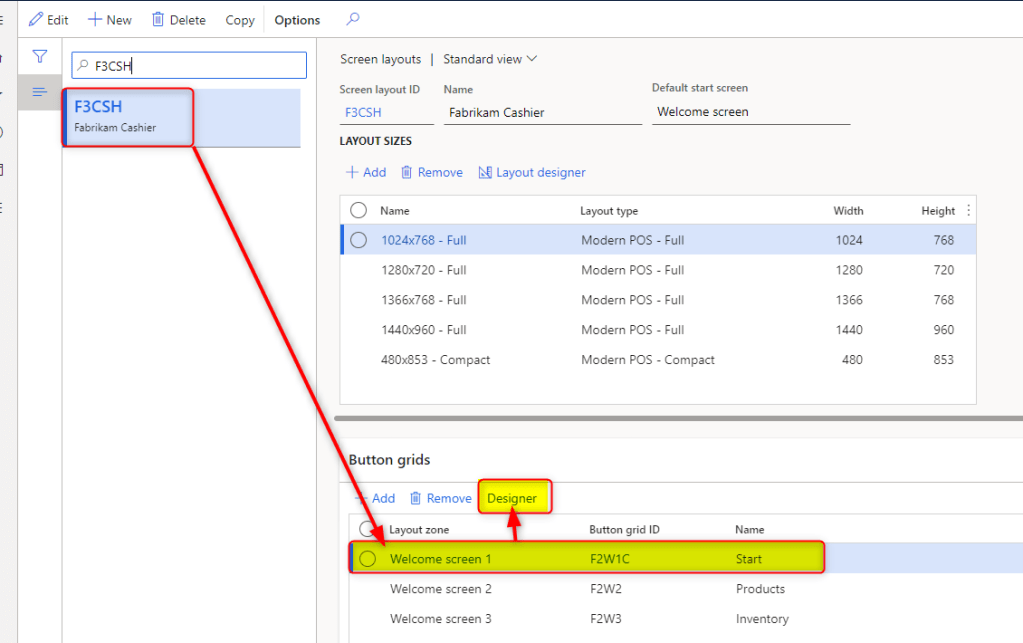
Filter for “F3CSH” screen layout Id assigned to your MPOS user (or Register or Store)
Select the screen size (in layout sizes tab) and in bottom grid tab select button grid “Welcome Screen 1” (which is my home screen).
Click on “Designer”.
The system will ask you to install the designer plugin. Beware to open in Microsoft edge beacause in other browsers the installation doesn’t work

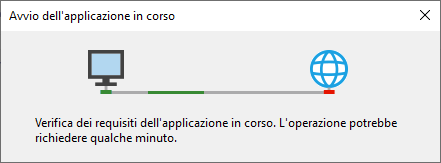
Wait until plungin is completed
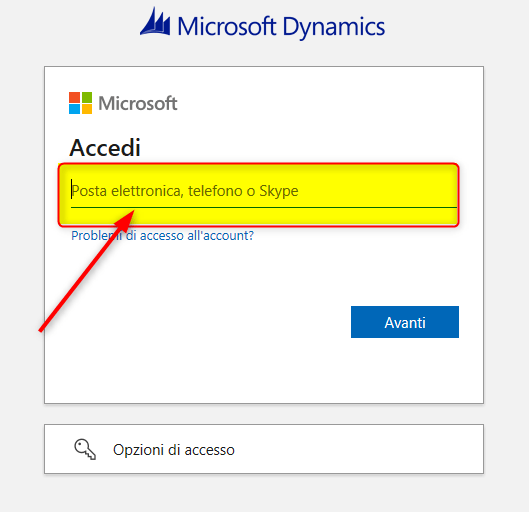
Access the environment with your credentials
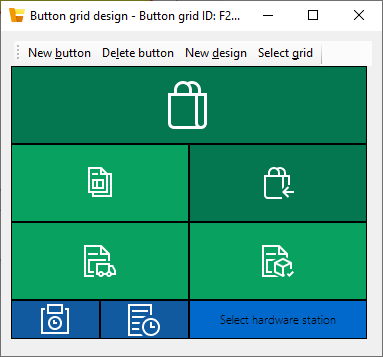
The plugin will open
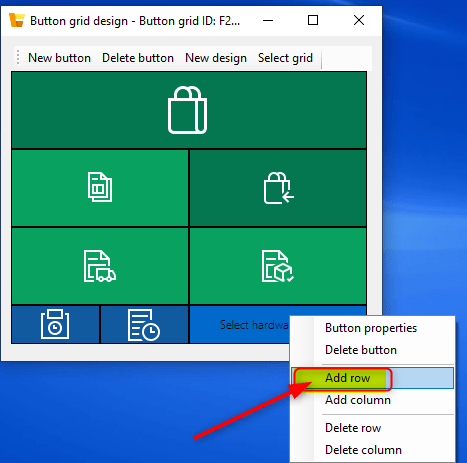
Right-click on the screen and click on “Add Row”
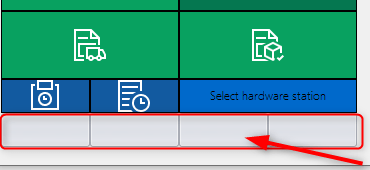
A new row with 4 empty grey button will appear
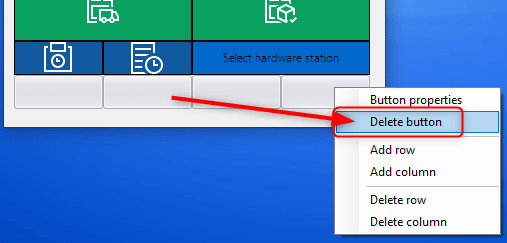
Right-click and press “Delete button” and delete only 3 buttons
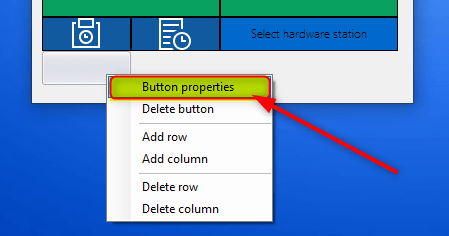
Now right-click on the last remained button and press on “Button properties”
A configuration dialog will appear.
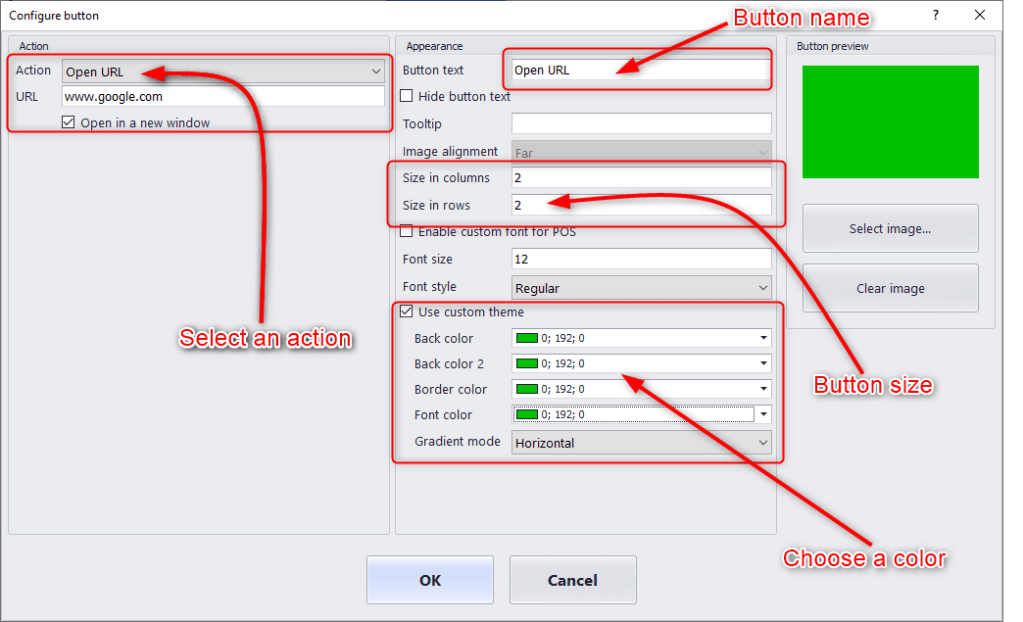
Here you can set :
- Button Actions (like open an url or choose between many other predefined system actions like Add customers information, Create quotation, Change the user password, etc..)
- Give a button text name
- Resize the button dimensions
- Choose a back or font color
- Add an image
- CHange font style or size
- Insert a tooltip
When you’ve done click OK
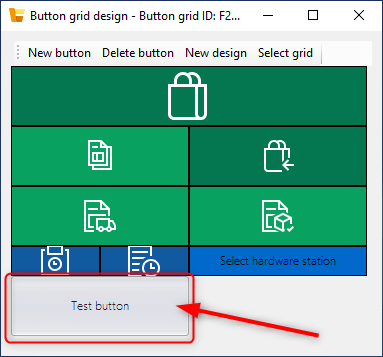
The new button will magically appear into the screen
Now save your job by simply close the Window
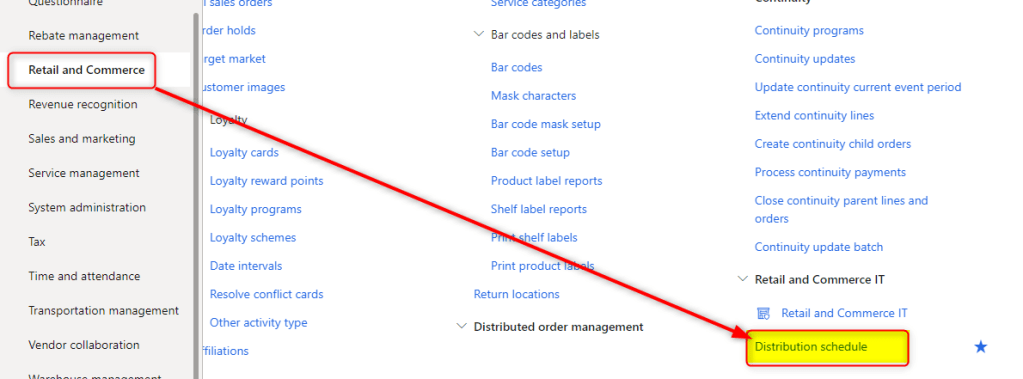
In order to see the changes in POS we need to launch the 1040, 1050, 1070, 1090, 1110, 1150 jobs so for that Go to “Retail and commerce” > Retail and commerce IT > Distribution schedule.

For every Job in the list above click on “Run now”.
Wait until the jobs are completed and access again into the POS retail home page and you’ll see the new button

Leave a comment